Aperture Mode Crash Course
The LUG Fulda asked me to give a short introduction into taking good pictures with a DSLR camera. So, here goes.
Manual Mode
A camera requires two parameters to take a picture:
The shutter speed controls for how long the sensors stays exposed to light. (Note that you can only hold the camera steady for so long.)
The aperture number controls how much light the sensor gets exposed to.
Manual mode allows for both of these parameters to be set by the user. Doing that is somewhat cool in order to get a feeling for the values. Using the camera's wheel, try to figure out a configuration that seems to work. Then aim the camera towards dark and light places and observe how you need to adapt the configuration, either by changing the aperture size or the exposure time.
Adjusting the values usually takes a while and you're going to produce a lot of crappy images in the process, so this mode is not quite suitable for when you're going on a vacation. In order to get pictures that actually look good, a little bit of automation does make sense. This is where aperture mode comes in handy.
Aperture Mode
In Aperture Mode, you only have to define the aperture number and the camera figures out the correct exposure time itself, meaning less worries for you. We're going to use this mode for the rest of this crash course because it's much easier to handle than manual mode (and you're going to spend most of the time using it anyway).
Turn da wheelz on the camera to find that the wheel changes the aperture size (f number), and observe how the camera adjusts the exposure time accordingly. Then aim the camera towards dark and light places, seeing what happens to the exposure time. You should find that you're producing quite-all-right images again.
But why would you want to adjust the aperture size in the first place?
Depth of Field
Most likely, you'll have run across a picture like this one before:

Look at what part of the image is focused and which parts are blurry. There's a certain amount of distance around the focus point where things are still more or less clearly visible, but it quickly degrades into blurriness. This distance where things are in focus is called Depth of Field. It is controlled via the aperture size.
For a detailed introduction, check out the Depth of Field tutorial. It boils down to this: The wider open the aperture, the greater the angle becomes at which light from the edges of the aperture hits the sensor. For light that is exactly in the focus plane, this doesn't matter, because it just produces a tiny little dot on the sensor anyway, which is then recorded only by one single pixel. But when we start moving off the focus plane, the dot starts getting bigger. The bigger the aperture, the faster this dot grows. As soon as the dot is bigger than one pixel, the sensor starts to notice that things are getting blurry. Shutting the aperture by using a larger f number reduces the dot's size, thereby reducing the blurriness — but this also reduces the amount of light that hits the sensor, so you need a longer exposure time. (Aperture mode sets that for you automatically.) Be careful that you don't produce wiggly images.
Aim the camera towards an object near to you (about one or two meters away). Then use a wide-open (small f number) or tightly-shut (big f number) aperture and see what happens to both the exposure time and the image.
Using the Histogram
The histogram is the most useful tool to produce a picture that looks good without requiring much post-processing work.
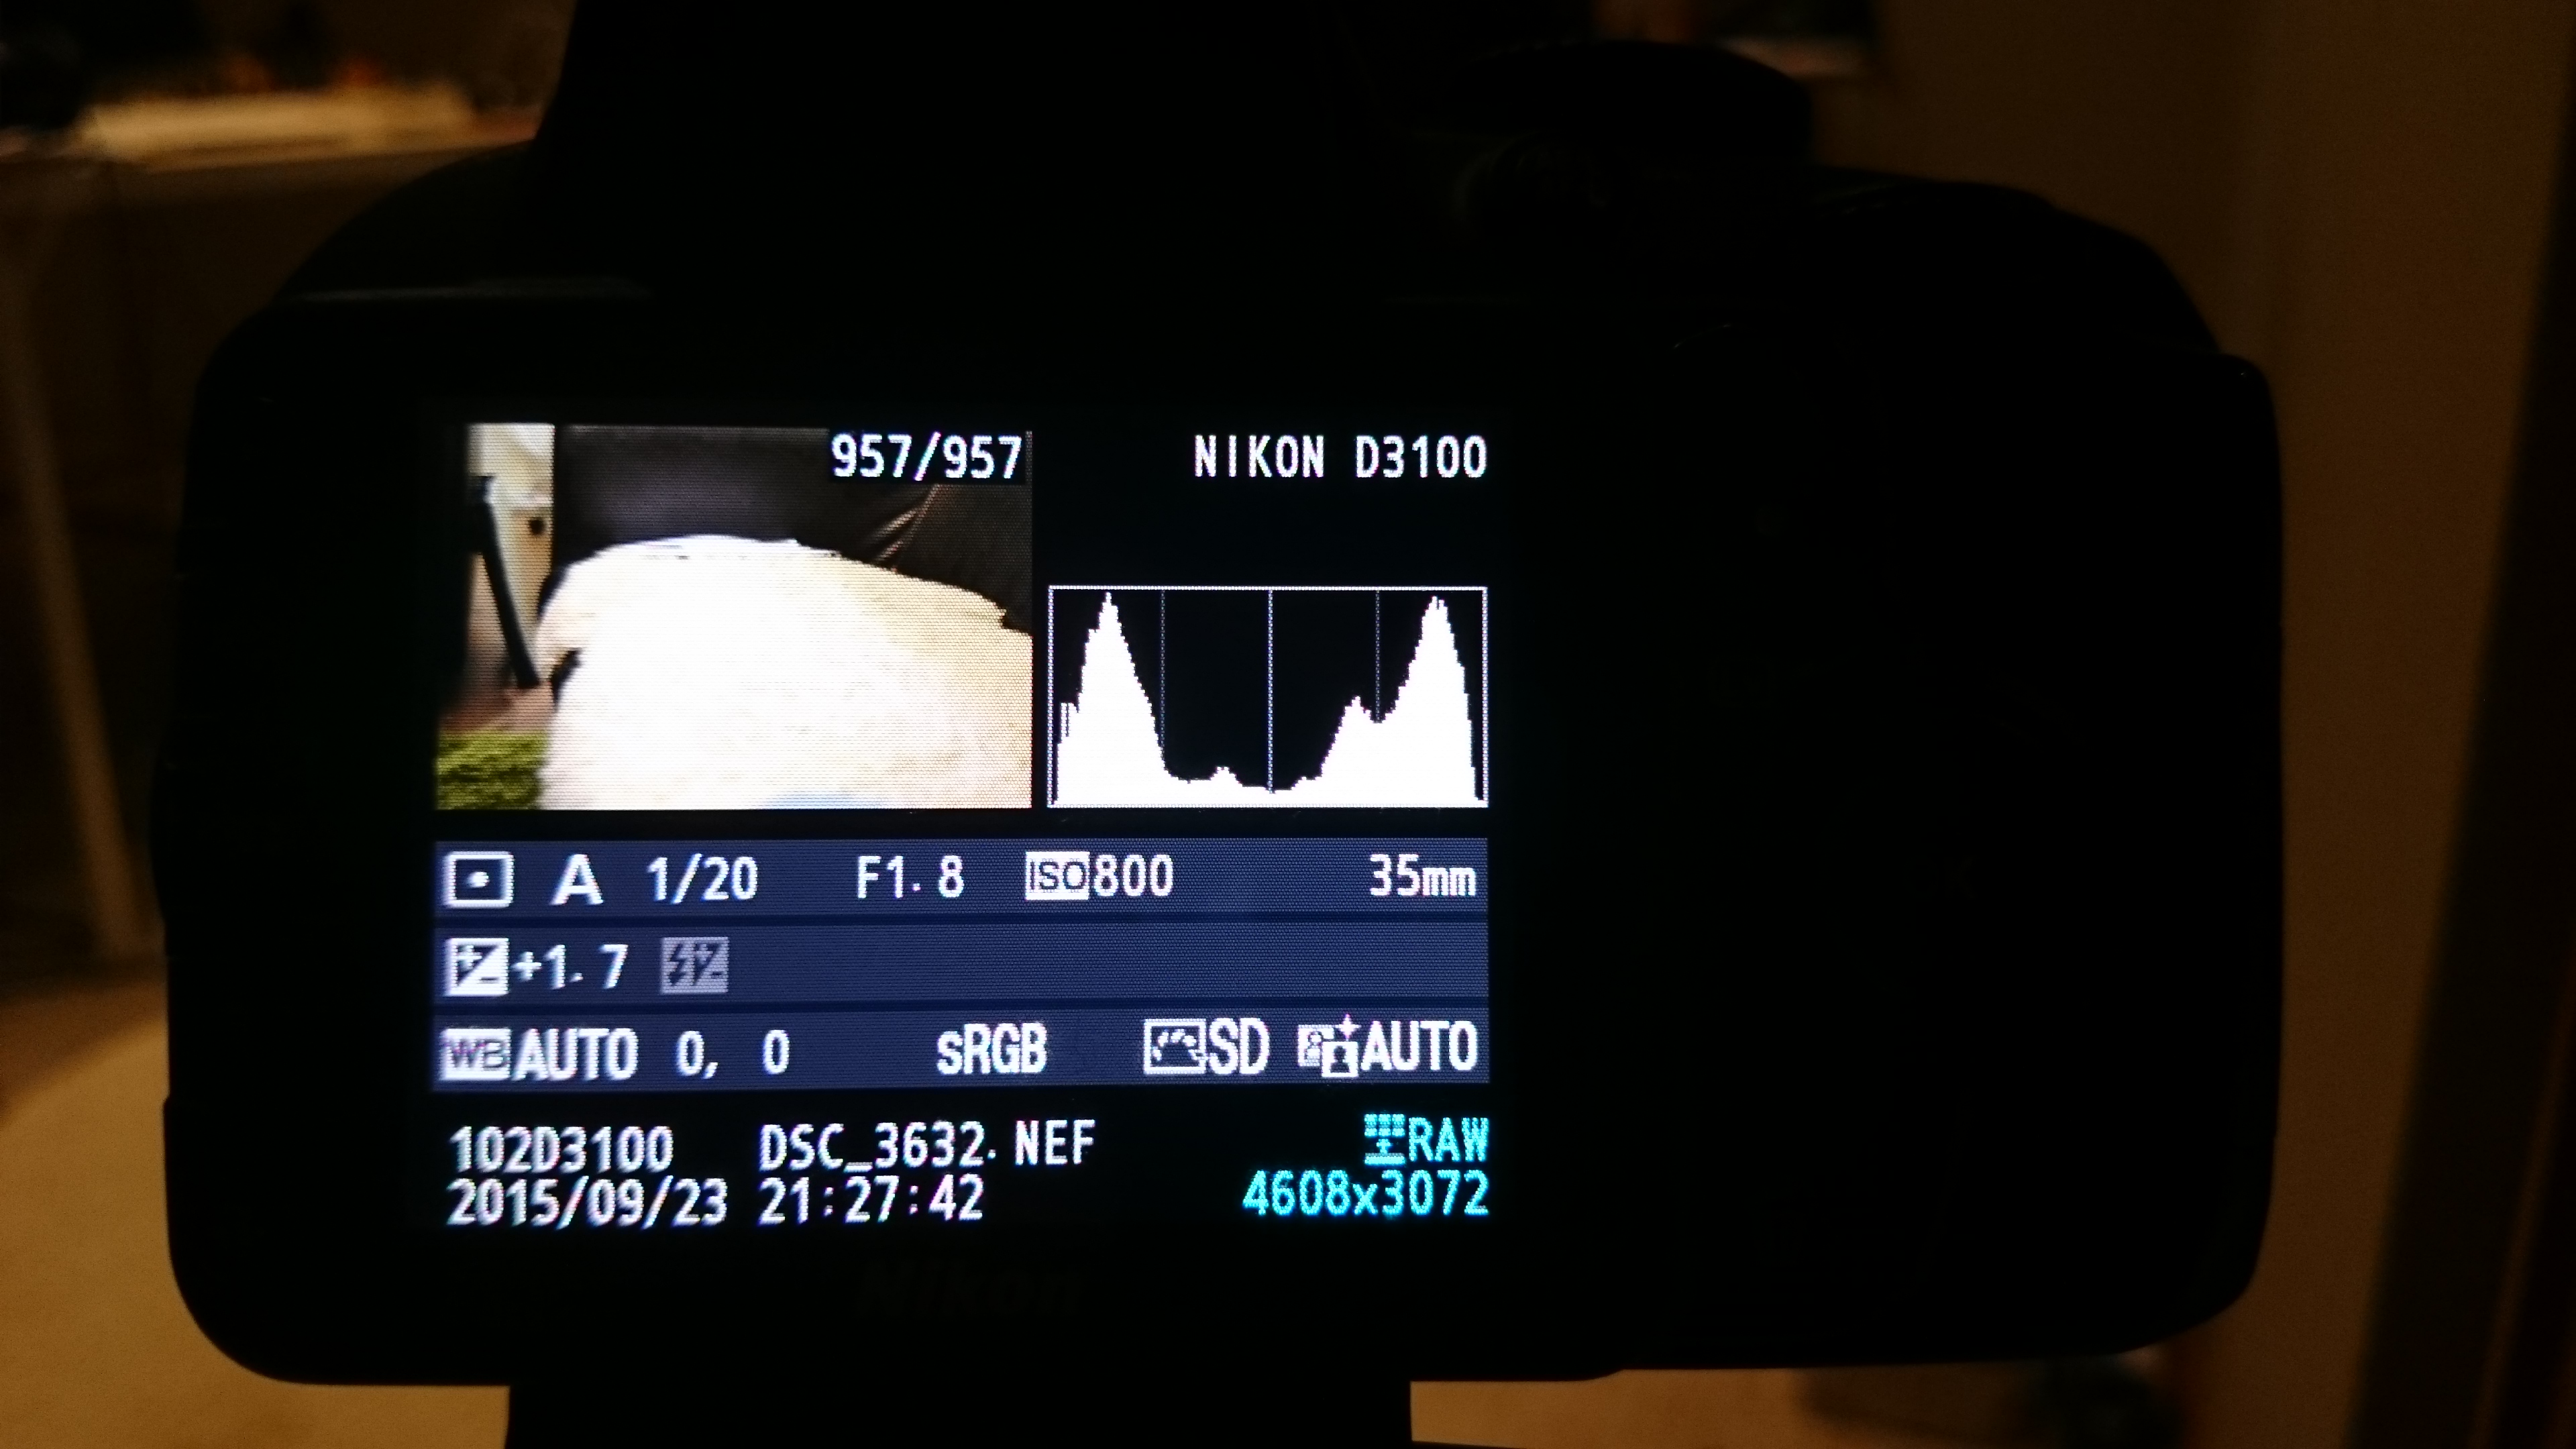
The histogram shows how many pixels in your image have a specific brightness, ranging from completely black on the left to fully white on the right. You'll want the histogram for your image to look like a little mountain: There shouldn't be many totally black or totally white pixels, your image should fit into the histogram.
The mountain has two slopes on the left (dark) and the right (light) side. To get your image into the histogram, you'll have to be able to move those slopes around. This can be done using the exposure correction. It boils down to this: When you're taking a picture of a dark scene, set the exposure correction down; when you're taking a picture of a light scene, turn it up. (This may seem counter-intuitive, but think of it this way: The camera needs to know whether the scene is dark or light in order to calculate the exposure time correctly.) To get a feeling for this, pick a dark and a light scene and play with the exposure correction settings until the histogram shows a little mountain. Then compare the images you produced in the process on a bigger screen.
ISO factor
The ISO factor works pretty much like the amplifier of your stereo system. If you turn it up too much, you'll introduce noise into weak signals (= dimly-lit scenes), which means some pixels that should be just black are going to show random colors. You'll also end up overexposing normal scenes. So be careful when turning ISO up, and be sure to turn it down again afterwards, just like you do with your HiFi amp.
Zoom lenses
If you use a lens with great zoom (= a longer focal length), in order to get a non-wiggly picture, make sure the exposure time is max 1/<focal length>. You might have to turn ISO up for this to work.
Composition
For starters, just don't place the subject in the middle of the image. Usually, there's more to be seen that you'd miss out on if you concentrate on just the subject.